Air Tightness Tests: What happens after the test?
- Babatunde Ibrahim
- Dec 22, 2022
- 1 min read
Updated: Aug 1, 2023
The video above is courtesy of Aldas.
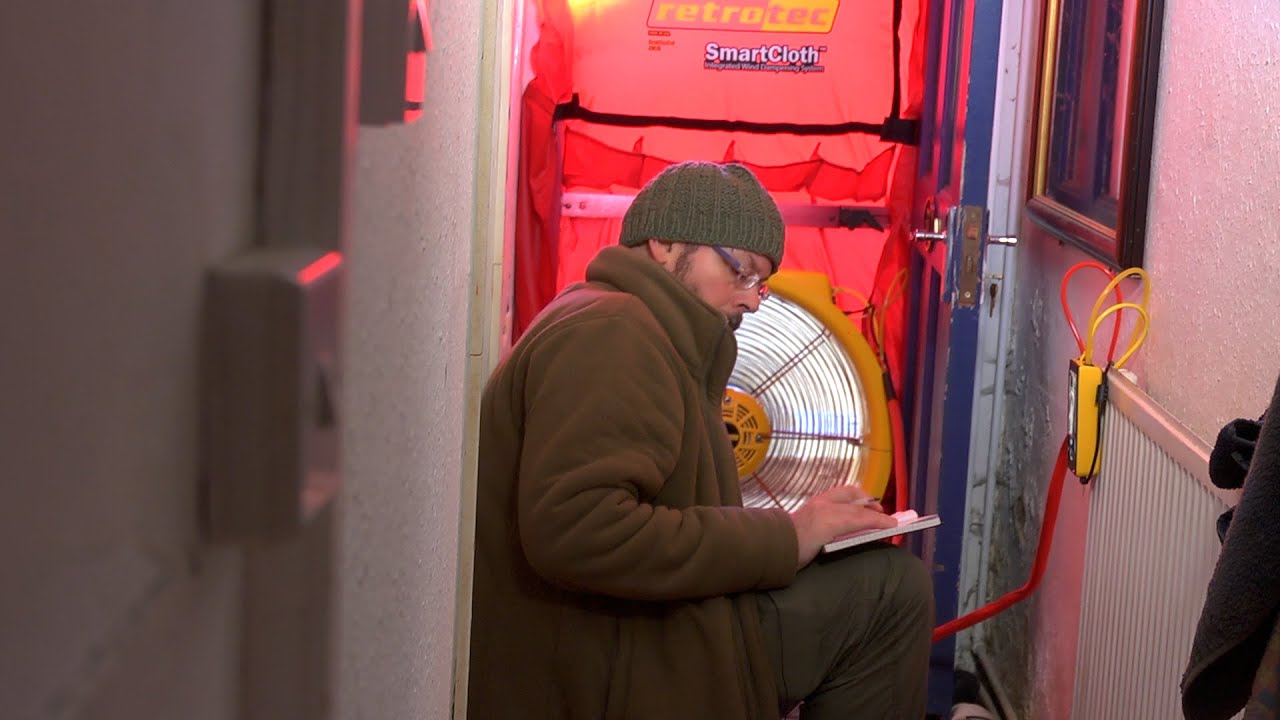
In the earlier blog post Air Tightness Tests: Why are they important? , we looked at the various processes (thermographic imaging and smoke testing) air tightness engineers utilise to establish areas of issue and leakages within a structure. In this blog post, we look at the retrofit measures that can be applied to the structure to remedy some of the issues identified during the testing phase on our own Ecotecture office and flat over.

In the video below, Paul Jennings and his team show homeowner Iain how to apply air-tightness solution tapes, primers, fillers and insulation. The first area the video covers is a boarded-up door that will require a gap-filling mortar to prevent air leakage before applying blower-proof paint.


We also look at the application of air-tightness tape around existing window frames. This is done using backing rods to seal the larger gaps around the window before applying the air-tightness tapes to prevent air movement in the areas where the smaller backing rods cannot be applied. Paul Jennings also shows us how to apply the air tightness tape to the window corners and frame.

Watch the video to see the effects proper air tightness can have for the inhabitants of a building, the acoustic performances it offers and the ease with which some of the solutions can be implemented.
Thank you for following our journey.